A First Look at Darktable, an Open Source Alternative to Lightroom
When it comes to image management programs, the undisputed kings are of course Lightroom and Aperture. Both of these programs have been around for some years and are slick, efficient and fast. They do however cost money, significantly less these days than in their original versions but none the less in these days of global austerity not every photographer will be able to justify the purchase of them. There is however an extremely powerful open source image management program available to Linux and Mac OSX users, Darktable. Open source is free software that is open to further development by outside programmers and as such Darktable has evolved into a very good, free image management program. Darktable can be downloaded from here: http://www.darktable.org
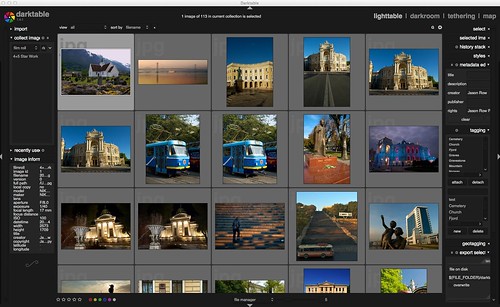
Darktable's well designed interface by Jason Row Photography, on Flickr
Initial Impressions
When I first opened Darktable, I was surprised at how clean and well designed it was. The interface whilst not as slick as it's payware cousins, is none the less easy to understand and well laid out. Inspiration is obviously taken from Lightroom's interface with the use of modules at the top right. These are: Lighttable, this is the catalogue viewing section of the program; Darkroom, like the Develop module in Lightroom, is the image processing area; Tethering, which is self explanatory, and Map, like Aperture's map function, allows you to manually geotag your image.
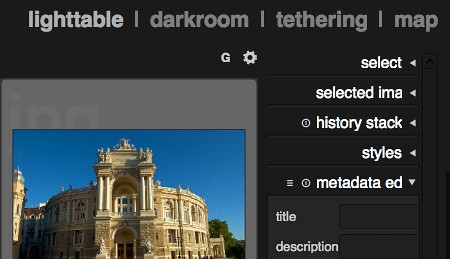
The modules tab by Jason Row Photography, on Flickr
Modules in Darktable
Lighttable: Lighttable is where the program initialises. To the left of the screen you will see the import dialogue, this allows you to import a single image, a folder of images or to scan for an imaging device. When you import, Darktable just references images in their current location or if you import from a device you will be asked to define a destination folder. Once imported your folder will appear in the next section down, the collect images section. This is your catalogue hierarchy and allows you to create and organise collections around multiple criteria. At the bottom left of the Lighttable module there is metadata information about the image selected in the main catalogue.
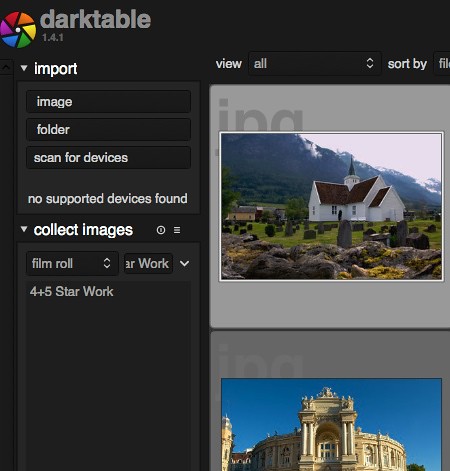
The import window by Jason Row Photography, on Flickr
To the right of the Lighttable module we have the ability to add metadata such as description, creator and rights as well as tagging the image. Tagging is the Lighttable equivalent of keywording. At the very bottom is the export dialogue which is a little clunky to use and does not appear to allow exporting of the original image such as a RAW file.
Darkroom: Double clicking on any image in the Lighttable module will automatically open it in the Darkroom module. This is actually surprisingly powerful with many of the tools found on its payware equivalents. The left side of the screen displays basic image information but the heart of the Darkroom module is to the right. At the top right is a largish histogram which you can click on and drag to adjust the white and black levels. Below this a series of small icons reveal different levels of adjustment tools. The choice is surprisingly comprehensive and includes tone curves, shadow and highlight adjustment, a white balance control with individual RGB channels, sharpening and even a basic automatic lens correction tool. As well as these there are spotting tools, vignetting and graduated filters. As you would expect all of this tools make their adjustments non destructively, the integrity of the original image is maintained and the adjustments only applied in the program itself or when exporting as a new image. Overall the adjustments seem to be applied very quickly and without any discernible lag.
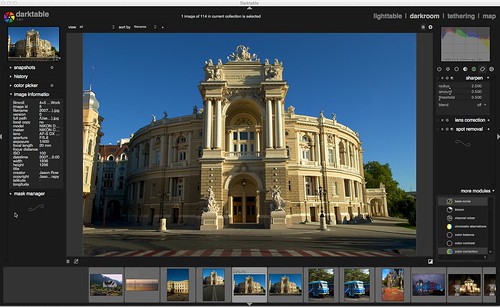
The darkroom interface by Jason Row Photography, on Flickr
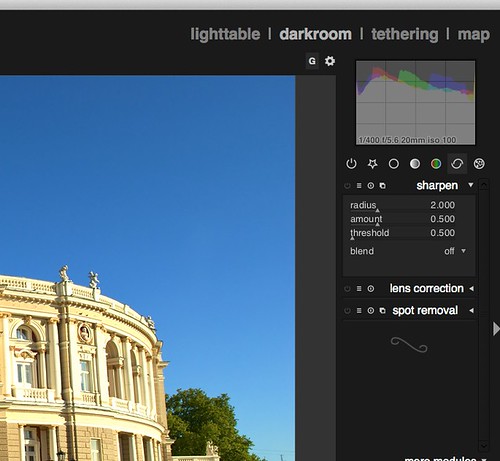
Editable histogram and other tools by Jason Row Photography, on Flickr
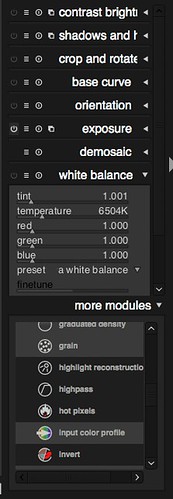
Many post production tools are on offer by Jason Row Photography, on Flickr
Tethering: The tethering module allows you to shoot images directly to your computer via a USB cable attached to your camera. The image can be previewed live on your computer screen and certain elements of the camera control can be changed from the computer. Digging into Darktable's manual I could not immediately find a list of supported cameras but there was a command line tool to determine if your camera is compatible.
Map: The map tool allows you to geotag selected images on a map. Darkroom appears to use OpenStreetMap for its mapping, which whilst not as visually appealing as Google Maps, still gives you good location details for most parts of the world. To the right of the map module are map setting and another option for tagging the image.
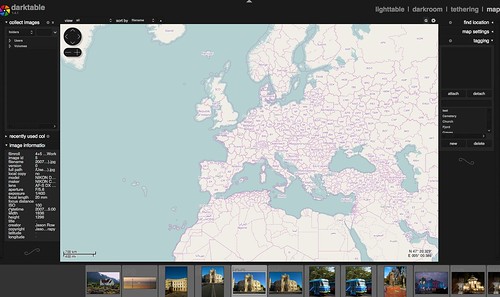
The map module for geotagging] by Jason Row Photography, on Flickr
Settings: Unlike the polished Windows and Mac apps we are used to, the settings menu in Darktable is a little clunky to use and initially difficult to find. It is in fact a small gear icon below the modules section which opens a dedicated preferences window. It is here that Darkroom loses some of the slickness of its interface, falling back into complicated, unclear options.
Overall Darktable is an extremely powerful tool for those photographers on a limited budget. Its limitation is that it works only on Linux or OSX however, Linux is a free operating system and much easier to install than before. You can also run Linux virtually through a virtual machine on Windows.
Whilst not a slick as Lightroom or Aperture, Darktable offers many of the facilities of those products for the price of free. For that reason alone, I would have to recommend it.
No comments:
Post a Comment